Time needed to complete ~40 minutes
1.Introduction
This post will demonstrate how to use websockets with spring. The client will receive
data from server using stomp protocol via websockets.
data from server using stomp protocol via websockets.
2.What is used in this tutorial:
1- Maven 3
2- Jdk 1.7
3- Tomcat 7.0.55
4- Eclipse Luna 4.4
5- Spring 4.0.6
6- jQuery and plugins
7- Stomp protocol
8- Web browser supporting websockets
6- jQuery and plugins
7- Stomp protocol
8- Web browser supporting websockets
3.Project Structure
4. Controllers
- Two controllers are used, PageController Listing 4.1, is for displaying web page. LiveRandomData Listing 4.2 is for generating random prices every defined period of time.
- Method retriveData() is anotated with @Scheduled it will run every 800 ms as it has fixeDdelay = 800 , it will send messages to defined destination /topic/simData , each message is a list of company objects that contains five companies with the stock price and change, the prices and change data is generated in method generateRandomdata().
5. View
- Page stock.jsp contains a table Listing 5.1 where the data will be displayed.6. Configuration
-In /webapp/WEB-INF/spring/appServlet/servlet-context.xml Listing 6.1, in the websocket:message-broker definition the application destination prefix /app is used when sending messages to the server, /stock is the endpoint and it is used by the client to connect to url path using sockjs option.
7. Connection & data display
- Javascript is used to connect to server and get the data Listing 7.1, the connect() function will use SockJs to connect to endpoint /sws/stock where /sws is the path specified in pom.xml. after that stompClient is initialized and used to connect and subscribe to /topic/simData, when ever message is received dispay() function will handle it and display data . For using sockjs files sockjs-0.3.4.js and stomp.js are included in stock.jsp
8. Deploying to tomcat
Note: don't forget to change username and password for tomcat server in pom.xml file
- Start tomcat.
- Start tomcat.
- Deploy application from run configuration in goal type clean install tomcat7:redeploy
click Apply and Run buttons.
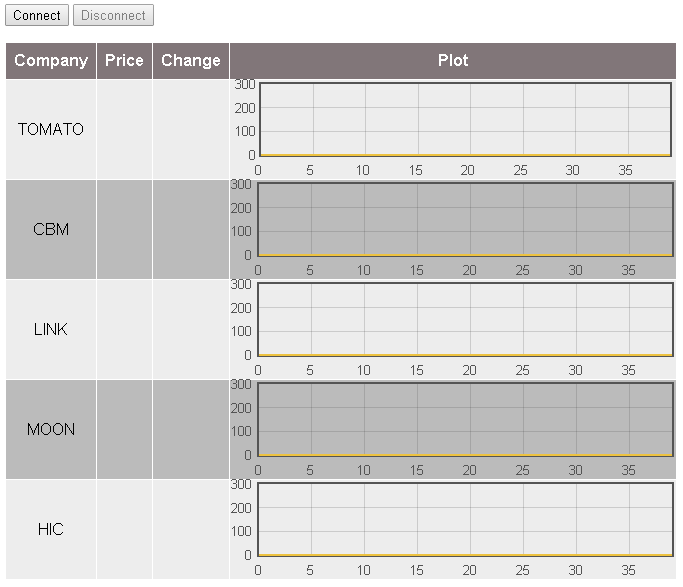
- In browser type http://localhost:8080/sws/live/show to see the form picture 7.1. Clicking Connect button to start receiving data, Disconnect button to stop.click Apply and Run buttons.
- Video 8.1, shows the display of data.


Hi..
ReplyDeleteNice example. i need the example to run my locale but it is not available in google drive. can you please re-upload.
You can download the project now. Regards.
DeleteOr USE link
Deletehttps://drive.google.com/open?id=0B1AcbtzkCQUbMDJJR01lWlU3emM